How To Make Your Own Solar Dehydrator
Do you want to better preserve some foods in your pantry? If that’s the case, you may want to consider opting for a solar dehydrator or blow dryer. Here’s how to make one at home!
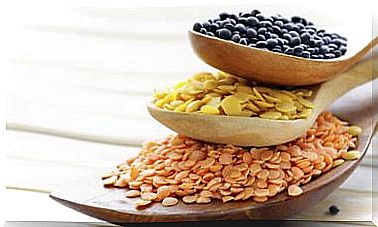
Dehydrating food is the process by which all moisture is removed from it for preservation. In this way, they can be consumed over a certain period, rather than having to be done immediately.
Does your food usually spoil ?
When we are in the supermarket, what we want is to fill the pantry and we do not count on the fact that, sometimes, it is not possible to consume all the food before it expires. Therefore, it is advisable to dehydrate them to remove a percentage of water and preserve them without having to resort to preservatives.
It is clear that we are in an era in which the natural prevails, and more and more people are passionate about eating a balanced diet. In this sense, an e study published by the Journal of Food Quality shows that dehydrated food is beneficial, as long as it is healthy food.
However, regarding the disadvantages of this process, it is necessary to clarify that the drying processes produce certain alterations in the compositions of the food. It is highlighted in the aforementioned research that those carried out at low temperatures or those that are done in a short time are the ones that least influence the properties.
Other reasons to make a dehydrator
When you use a food dehydrator, you no longer need to resort to refrigeration or freezing, as the food is kept in good condition in the pantry and c onservan its nutritional properties.
Dehydrated foods can be a substitute for sweets and most s are low in fat, since they are or go through industrial processes. On the other hand, they are good companions for various dishes.
How to make a homemade dehydrator?
To make your own solar dehydrator, you will need the following tools:
- Mesh.
- Staples.
- Hinges
- Drill.
- Screws.
- Drill bit.
- Wooden box.
- 4 wooden dowels.
- Drill bits.
- 8 wooden slats.
- Transparent plastic.
- Black garbage bag.
Remember that you must be extremely careful when using these elements. If you do not have experience with them, it is preferable that you ask someone for help to avoid accidents.
What should you do?
- To start, with the help of the drill, you have to make two holes in the sides of the wooden drawer, right in the middle of each side.
- Next, mesh the holes and fasten with the staples.
- Line the bottom of the drawer with the black bag. You must be careful not to tear or leave any uncovered areas.
- Place the four wooden blocks on the small sides, one in each corner, so that there is a second level.
- Then, with the wooden slats, make a frame exactly the same size as the drawer. Put the tip in the drill and screw the corners very well.
- The next step is to line the frame with the transparent plastic and staple on all the sides so that it is well attached. It is very important that you verify that it does not have any hole, since the heat input depends on this.
- On one of the long sides, place the hinges with the screws, one in each corner to open and close the drawer.
- Make a frame a few centimeters smaller than the drawer, in such a way that it is inserted to put it on the four studs and the second base is formed.
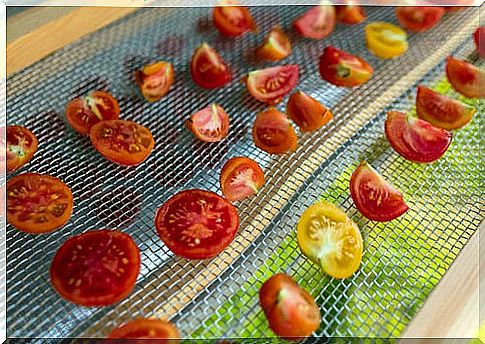
- To finish, line the inner frame with the mesh and staple the sides very well.
How to use it?
To get the most out of the dehydrator, you must take into account the direction of the sun , so that the rays enter through the holes on the sides. If you want immediate results, you have to find an area where hot air runs and there is little humidity.
recommendations
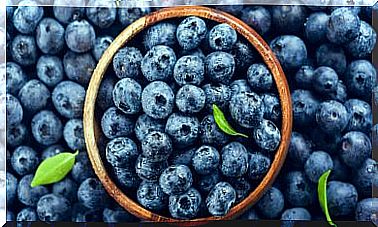
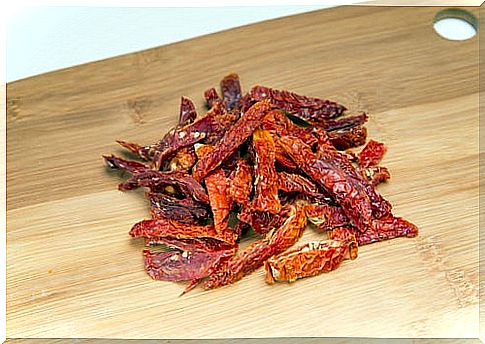
- Select those foods that you want to dehydrate; avoid those that are very mature.
- Wash selected foods.
- Cut into strips, chunks, or small cubes to speed up the process.
- Place the food on the mesh evenly, so that the drying is the same.
- Remove those that do not respond to dehydration, so they do not affect the rest.
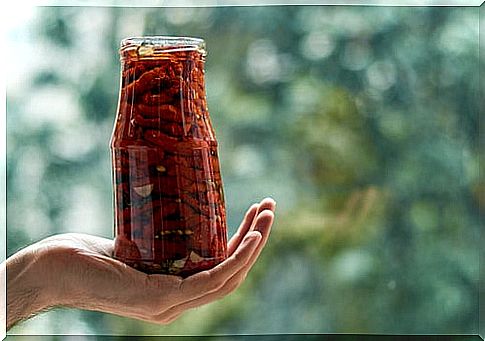
- Once they are dry, they must be packaged immediately so that they do not fill with moisture.
- Write down the date you did the process and do not consume them after a year — or if you see that they have gone bad or have a strange smell.
The home dehydrator, an ally for your diet
Using a solar dehydrator can be very helpful in extending the shelf life of some foods. In addition, this type of canning has interesting benefits and nutritional properties that can be used to maintain a healthy and balanced diet.
Best of all, it can be done at home, with basic materials such as a drawer and wooden slats. If you are interested, try to create one with the instructions we have given you. Ready to use your solar food dehydrator?